

The great myth about taking good photos is that you need a digital SLR. Or, that just because you have a digital SLR, you will take good photos. Hardly. Almost anyone that knows how to take good photos knows that it’s not about the camera you use, it’s about the eye and technique of the photographer. I’ve learned a few things after taking photos of food in the last few years, so I’d like to share the insight with you.
#1: If you want to take good food photos, it’s all about lighting. I once told my good friend Josh Lurie at Food GPS that if he wanted to take better photos, take them at lunch, when the sun’s out and light can bathe the dish. Most of the best food photography in magazines and blogs such as MattBites and Tartelette employ well placed lighting to give the aura of daylight. The best lighting is from the side or angled from the side, where the harsh light won’t overwhelm the food. Tastespotting is a good place to find well-made food photos, and most of these people aren’t even professionals.
#2: Know how to use a digital SLR. I’ve committed a ton of errors with my camera so I’ll say this stuff based on experience. To get the best photos, you should use a long focal-length, large aperture lens. I use a 50mm F1.8 prime lens for very low light and a 24-60mm F2.8 to give a good bokeh (background blur) and allow for sharp photos in low light. However, even using these lenses doesn’t mean you’ll have good photos; oftentimes photos have depths of field that are too tight, resulting in photos that are blurry in some areas and sharp in others. It’s a hard thing to determine since you need lower apertures in dark settings, but need to balance that out with an aperture that isn’t TOO wide. I could have used an even smaller aperture (and therefore longer depth of field) in some of my Sasaya photos.
Also, set your white balance and other manual measures of the lighting is distinctly one temperature. Auto white balance usually doesn’t cut it, even with newer SLRs. Most restaurants use incandescent lights so you’ll need to flip to that setting to adjust. If there’s a ton of tungsten light from fluorescent bulbs, switch to that. I generally use Auto ISO since I don’t want to have to switch every time, but try not to bump it up too high or else you’ll get some grainy shots.
#3: Many of the settings I mentioned previously can be done on a regular old point-and-shoot camera. Christine uses a perfectly good Canon SD1100 that has pretty good manual capabilities and takes some great food photos. Sure they don’t have awesome bokeh or ridiculously nice colors, but it does the job for things that need to go on a blog. A good photographer will take better shots with a point-and-shoot than someone who doesn’t know how to use a DSLR.
#4: Hold the camera steady. Rest your elbows on the table for a makeshift di-pod. Or clench your arms next to your torso. This will do wonders if you’re not using a flash to take photos.
#5: Only use flash in extreme circumstances because that flash will annoy the hell out of other diners.
#6: Don’t take too long taking photos. Just take one or two of each dish and get to eating. While we food bloggers have to make concessions about taking photos during our meal, don’t let that take over. Restaurants are meant to be enjoyed, and the food is supposed to be consumed with leisure.
#7: This is something I’ve learned recently: Don’t use too many photos in a single post. Yes, I understand if you order 29 dishes in your multicourse degustation and want to highlight every single one of them. Some blogs need to do this, like KevinEats because those are pretty much the only places he goes to (though he’s been frequently some more, shall we say, “plebian” spots that the average person can reach). Remember that the point of taking photos is to show what the dish looks like and ultimately whet the appetite of the viewer.
#8: Sorry, I know this is a light arrow to some of my blogger friends, but most food photos look terrible with a black background. Just an opinion, but a glaring black background makes it hard to really tell what the heck is in the photo. And generally all-black backgrounds are just boring and generally text is hard to read when it’s white. You may not care about the photography on your blog, but if it’s a main component, like it is on most of them, then try not to use an all black background. Just a tip.
I don’t purport to know everything about taking good photos, and I know that I still have a ton yet to learn. I should probably take some more photo seminars and get some tips from guys like MattBites since he’s a pro. But you don’t NEED to be a pro to take good photos, just follow some simple techniques and you’ll be well on your way to a satisfying photo-taking experience.
ADVERTISEMENT
And now, a word from Test King:
From the last decade, IT certifications have got so much importance that you cannot survive in the job market without having some IT certification. I you have passed your Microsoft MCITP 70-622, HP0-D01 or 1z0-048 Oracle Database 10g, you do not need to be worry about the job. Cisco 642-973 DCNIS1 and 646-223 UCXAM Unified Communications Express help you a lot to get good job.


Blog Comments
orange county photography
February 14, 2011 at 12:18 AM
This is four times now that i’ve landed on your website in the last 2 days when searching Bing for absolutely unrelated stuff. Kinda odd. Keep up the good blogging!
san diego family photography
December 21, 2010 at 11:58 PM
Yet another handy post, always nice to visit your blog! Keep up the good work!
san diego photographer
November 12, 2010 at 12:08 AM
Yet another great post, really awesome to visit your site! Keep up the good work!
uberVU - social comments
January 11, 2010 at 1:02 PM
Social comments and analytics for this post…
This post was mentioned on Twitter by djjewelz: @theminty no flash and I think this a good post by @mattatouille http://bit.ly/69JLCs, especially his P/S camera settings in the comments….
Alan De Herrera
October 20, 2009 at 4:05 PM
I agree. Nothing beats some good natural light coming in from a large window to light your food. Then a white board to fill in any areas that are too dark. I like to use mirrors as well to point the light in a more narrow direction. Bounce flash works for wider shots.
mattatouille
April 6, 2009 at 11:03 AM
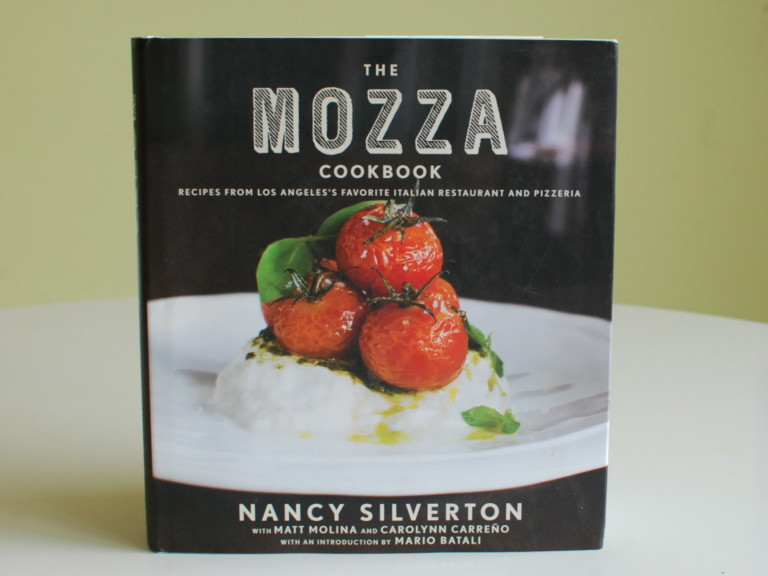
Tartelette: that’s even better that you use natural lighting! of course that works best. that photo up top is all natural lighting.
Tartelette
March 23, 2009 at 1:05 PM
Thanks for the link! I need to add that I only use natural light and no “well placed lighting to give the aura of daylight”. Just wanted to clarify.
mattatouille
March 20, 2009 at 2:24 PM
Pat: you’re right that flash is just a crappy way to go. Actually there are some simple things you can do to get a good photo without using your flash. Collect a bunch of candles and use them for extra lighting. Or as summer rolls around, just go before the sun goes down. Any ambient light beats candles. My default setting for a point and shoot (for low light situations):
Manual (M for most cameras)
2/3+ exposure
800 ISO
Macro (flower setting)
usually since there are candles/dim lights, set white balance to the Light Bulb or Incandescent setting to balance out the extra red color.
If your photos are still coming out blurry, be sure to rest your elbows on the table and hold your breath. If that isn’t working, invest in this:
Nikon D40 (used on CL for $300 or so) and a 35mm F1.8 for $200. Without a doubt the easiest and best food photo (for restaurant) set up imagineable.
Pat
March 19, 2009 at 7:10 PM
Thanks for these Matt, I agree with not posting too many photos. I feel like readers just don’t have the attention span for that. You have inspired me to try to play with the settings more on my point and shoot camera. I feel like people are used to flashes now, though — better a flash than to put a really crappy dark photo on your blog.
mattatouille
March 19, 2009 at 1:07 AM
Anjali: very true, using macro mode is useful b/c you get a bit of bokeh and you can focus much closer (though not too close).
choisauce: you are a clever girl 🙂 And yes, I want me some oinkster right now!
P.S. – Sorry, forgot to tell you great post!
mattatouille
March 18, 2009 at 5:13 PM
Anjali: very true, using macro mode is useful b/c you get a bit of bokeh and you can focus much closer (though not too close).
choisauce: you are a clever girl 🙂 And yes, I want me some oinkster right now!
Anjali
March 18, 2009 at 5:10 PM
Good post, with a lot of helpful tips. I would add to #5, another reason to avoid using the flash is that flash food photography always looks HORRIBLE and totally uninviting. I think it’s better to have a somewhat dark shot that you can adjust in Photoshop than an unusable, blown out flash shot.
I use a point and shoot Canon and would add to #3 that a good macro setting is key. And yes, it’s very possible to get great-looking shots without a DSLR. (Although I have my eye on one….)
choisauce
March 18, 2009 at 5:09 PM
#9: date a ridiculously good photographer like mattatouille so he can just take all the pics for u and then jack them later 😛
oinkster!!